Are you tired of looking at your outdated and boring bathroom cabinet? It's time to give it a much-needed makeover! In this article, we will provide you with some simple and easy DIY ideas to transform your bathroom cabinet into a stylish and functional space.
From repainting the cabinet doors to organizing the interior with bins and dividers, these ideas will help you create a bathroom cabinet that you can be proud of.
The first step to giving your bathroom cabinet a fresh new look is repainting the cabinet doors. This is a simple and cost-effective way to instantly update the appearance of your cabinet. Choose a paint color that complements the existing decor of your bathroom and get to work.
By using a brush or a roller, you can easily apply a fresh coat of paint to the cabinet doors, giving them a clean and modern look. With just a few hours of your time, you can completely transform the appearance of your bathroom cabinet and make it look brand new.
So, roll up your sleeves and get ready to bring some color and life into your bathroom space!
Get ready to give your bathroom cabinet doors a fresh new look with a simple and satisfying repainting project. Start by removing the cabinet doors from their hinges and placing them on a flat surface.
Make sure to clean the doors thoroughly to remove any dirt or grease that may have accumulated over time. Once the doors are clean and dry, it's time to sand them down to create a smooth surface for the paint to adhere to. Use a fine-grit sandpaper and gently sand the doors in a circular motion.
Be sure to remove any dust or debris before moving on to the next step.
Now that your doors are prepped and ready, it's time to apply the paint. Choose a high-quality paint that's specifically designed for cabinets, as this'll ensure a durable and long-lasting finish. Use a brush or a foam roller to apply the paint in thin, even coats, working in the direction of the wood grain.
Allow each coat to dry completely before applying the next one. Depending on the color and finish you desire, you may need to apply multiple coats for full coverage.
Once the paint is dry, reattach the cabinet doors to their hinges and stand back to admire your newly transformed bathroom cabinet doors. This simple DIY project can make a big impact and give your bathroom a fresh and updated look.
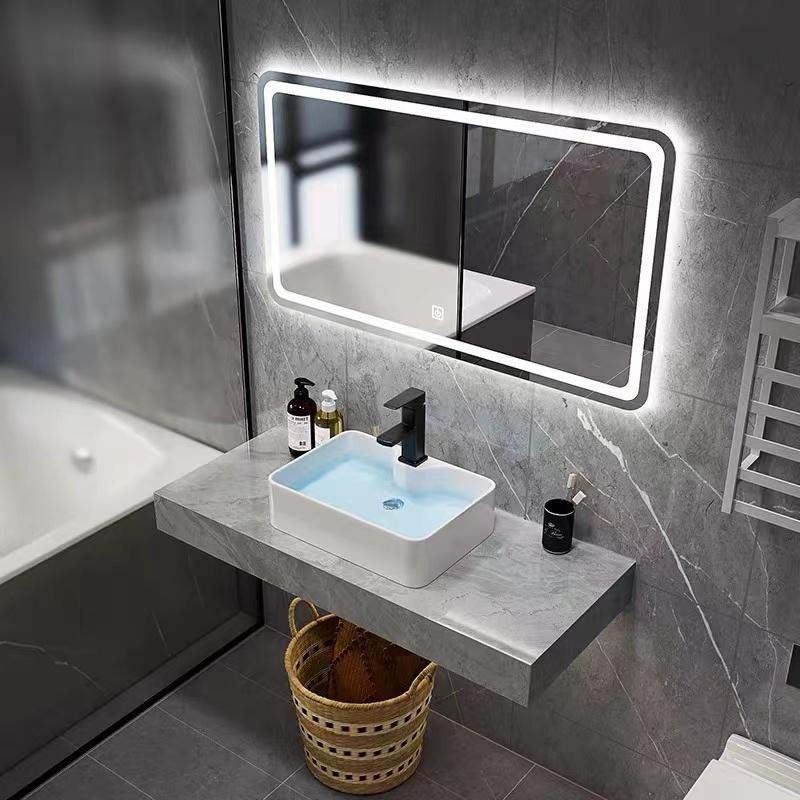
Transform your bathroom cabinet into a stylish and personalized oasis by incorporating beautiful decorative knobs. Adding decorative knobs is a simple and affordable way to instantly upgrade the look of your cabinet doors.
With a wide variety of styles, colors, and materials to choose from, you can easily find the perfect knobs that match your bathroom decor and reflect your personal style.
When selecting decorative knobs for your bathroom cabinet, consider the overall aesthetic you want to achieve. If you prefer a more classic and elegant look, opt for knobs made of crystal or glass. These knobs can add a touch of sophistication and sparkle to your cabinet doors.
For a more modern and sleek vibe, choose knobs made of stainless steel or brushed nickel. These materials have a clean and minimalist appearance that can enhance the contemporary feel of your bathroom. Additionally, you can also explore unique and quirky options like knobs shaped like animals or flowers to add a playful and whimsical touch to your cabinet doors.
Once you have chosen the perfect decorative knobs for your bathroom cabinet, installation is a breeze. Simply remove the existing knobs from your cabinet doors and replace them with the new ones. Most decorative knobs come with screws that can easily be attached to the cabinet doors. Make sure to tighten the screws securely to ensure that the knobs won't come loose over time.
With just a few minutes of your time, you can completely transform the look of your bathroom cabinet and create a personalized oasis that reflects your unique style and taste. So go ahead and add some decorative knobs to your bathroom cabinet and enjoy the instant upgrade it brings to your space.
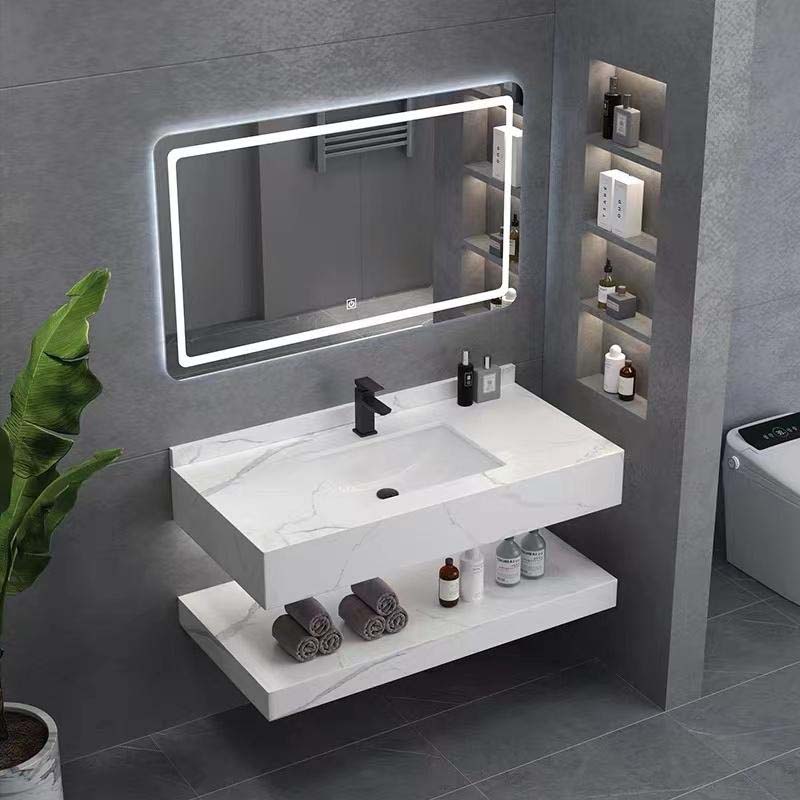
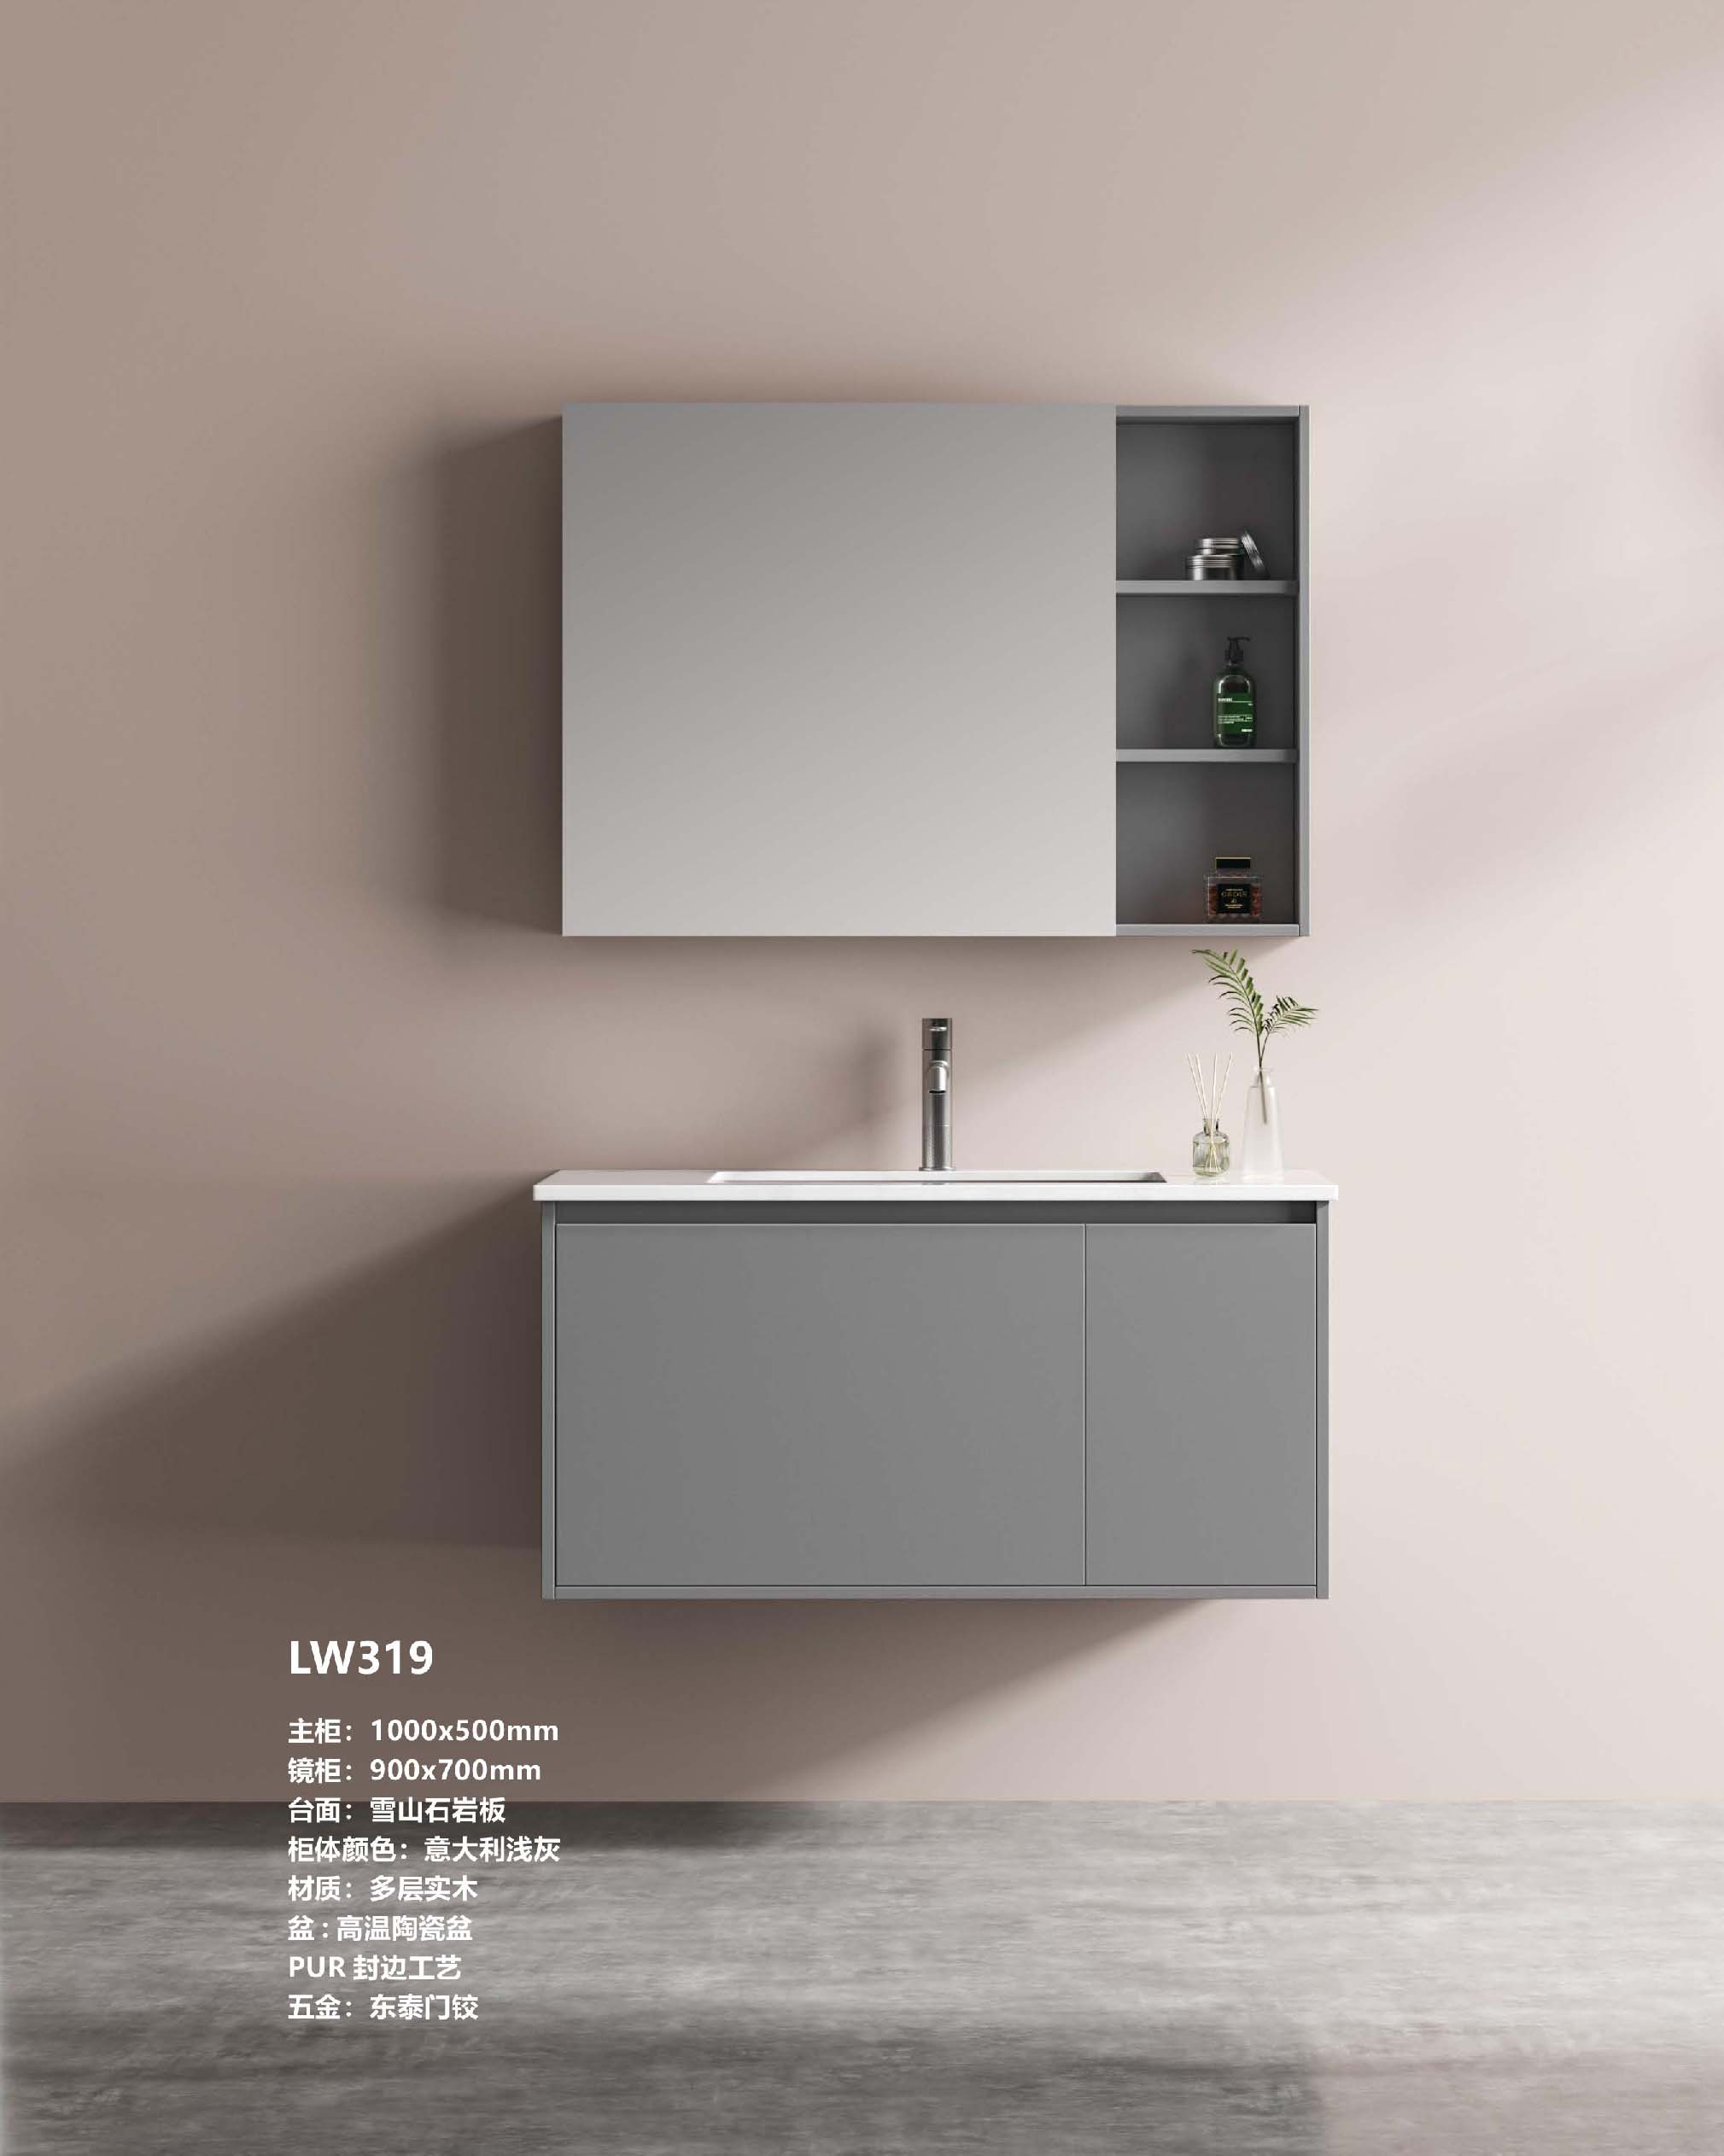
Once you've chosen the perfect decorative knobs, it's time to dive into the next step: installing open shelving.
Open shelving can be a great addition to your bathroom cabinet as it not only provides extra storage space but also adds a touch of style and sophistication.
To begin, measure the space where you want to install the open shelving and mark the spots where the brackets will go. Make sure to use a level to ensure that your shelves will be straight.
Once you have the measurements and spots marked, it's time to install the brackets. Use a power drill to secure the brackets to the wall, making sure they are level and sturdy.
Then, place the shelves on top of the brackets and secure them in place. You can use screws or brackets to attach the shelves to the brackets for added stability.
Finally, step back and admire your newly installed open shelving �?a perfect addition to your bathroom cabinet makeover.
Open shelving not only adds functionality but also gives you the opportunity to showcase your personal style. You can use the shelves to display decorative items such as candles, plants, or even small artwork.
Consider adding a few baskets or bins to keep things organized and visually appealing.
Additionally, open shelving allows you to easily access your everyday essentials, making your morning routine more efficient. You can store items like towels, toiletries, and even small storage containers on the shelves for easy reach.
With open shelving, you can transform your bathroom cabinet into a functional and stylish space that reflects your personality and taste. So go ahead, get creative, and enjoy the benefits of your newly installed open shelving.
To add a pop of color and pattern to your bathroom, consider applying wallpaper or contact paper to the backs of your open shelving for a visually stunning effect. This simple DIY idea can instantly transform the look of your bathroom cabinet and give it a fresh, new feel.
Whether you choose a bold and vibrant wallpaper or a subtle and elegant contact paper, this easy update will make a big impact on the overall aesthetic of your space.
When applying wallpaper or contact paper to the backs of your open shelving, make sure to measure and cut the paper to fit the space accurately. Use a ruler or a straight edge to ensure clean, straight lines.
Before applying the adhesive, clean the surface of the shelves thoroughly to remove any dust or debris. Once the surface is clean and dry, carefully peel off the backing of the wallpaper or contact paper and slowly apply it to the shelves, smoothing out any bubbles or wrinkles as you go.
Trim any excess paper with a sharp utility knife for a neat and polished finish.
By adding wallpaper or contact paper to the backs of your open shelving, you can easily achieve a stylish and personalized look for your bathroom cabinet. This budget-friendly DIY project allows you to experiment with different patterns and colors, giving your bathroom a unique and customized touch.
So go ahead and give your bathroom cabinet a makeover with this simple yet impactful idea. You'll be amazed at how a little bit of wallpaper or contact paper can make a big difference in transforming the look and feel of your space.
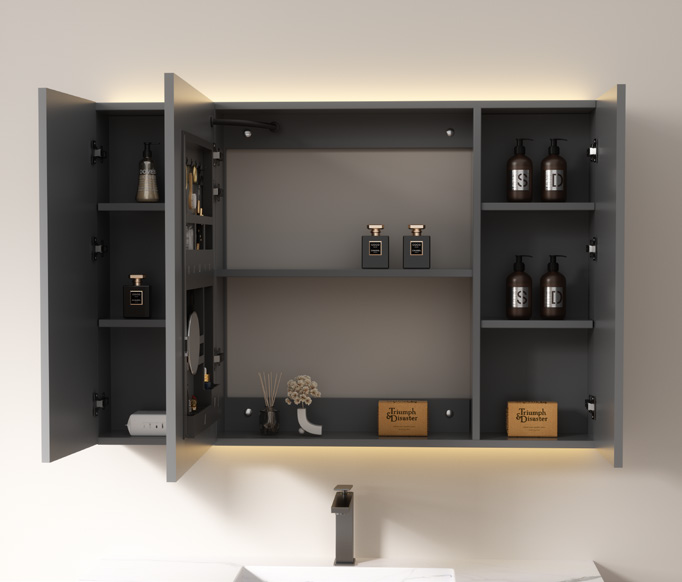
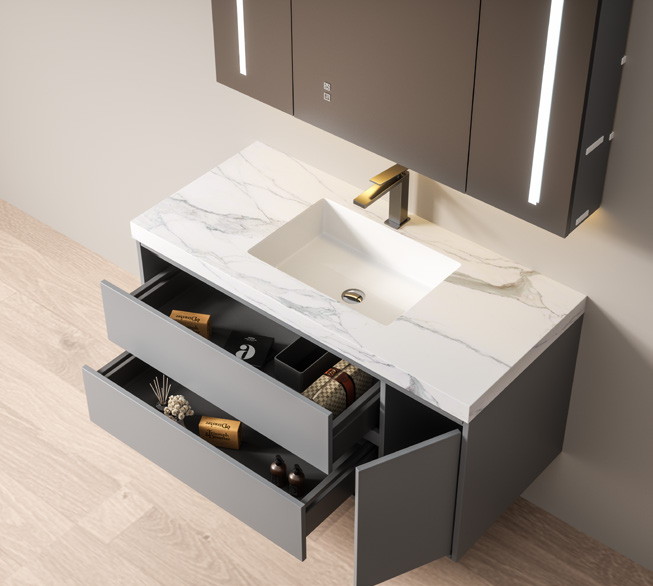
Maximize the functionality of your bathroom storage by using bins and dividers to keep everything organized and easily accessible. Bins and dividers are a great way to separate and categorize your bathroom essentials.
You can use small bins to store items like makeup brushes, toothbrushes, and hair accessories, while larger bins can hold towels, toilet paper, and cleaning supplies. By assigning each item its own designated bin, you can easily find what you need without wasting time rummaging through a cluttered cabinet.
Dividers are another fantastic tool for organizing your bathroom cabinet. They can be used to create separate sections for different types of products, such as skincare, haircare, and first aid supplies. This not only helps to keep everything neat and tidy but also makes it easier to grab what you need without knocking over other items.
For example, you can use dividers to create a section specifically for your skincare products, with separate compartments for cleansers, toners, and moisturizers. This way, you can quickly locate the product you need without having to search through a jumble of bottles and tubes.
With bins and dividers, you can transform your bathroom cabinet into an organized and efficient storage space.
In conclusion, giving your bathroom cabinet a makeover doesn't have to be a daunting task. By following these simple DIY ideas, you can transform your cabinet into a stylish and functional space.
Start by repainting the cabinet doors with a fresh coat of paint in a color that complements your bathroom decor. This will instantly give your cabinet a new look and make it feel more updated.
Next, consider adding decorative knobs to the cabinet doors. This small detail can make a big impact and add a touch of personality to your bathroom. Choose knobs that match the style of your bathroom and have fun with different shapes, colors, and designs.
For additional storage and display options, install open shelving on the sides or above the cabinet. This will not only provide a place to showcase your favorite bathroom essentials but also create a more open and airy feel in the space.
Another simple way to give your cabinet a makeover is by applying wallpaper or contact paper to the interior. This will add a pop of color or pattern and make your cabinet feel more personalized.
Lastly, take the time to organize the interior of your cabinet with bins and dividers. This will help you maximize the space and keep everything neat and tidy. Consider using clear bins or dividers to easily see what you have stored and make it easier to find what you need.
In conclusion, with a little creativity and some DIY skills, you can give your bathroom cabinet a makeover that will transform the entire space. Whether you choose to repaint the doors, add decorative knobs, install open shelving, apply wallpaper or contact paper, or organize the interior with bins and dividers, these simple ideas will breathe new life into your cabinet and make it a stylish and functional part of your bathroom.
So, roll up your sleeves and get ready to give your bathroom cabinet the makeover it deserves!
If you have any inquiry, pls feel free to contact us