The arrival of LED mirrors has transformed the idea of modern interior design, smoothly blending functionality with aesthetic appeal. These mirrors are not just reflective surfaces but essential parts of contemporary living spaces, thanks to their energy-efficient lighting, high-quality materials, and user-friendly touch controls. When choosing the raw materials, the decision between silver and aluminum mirrors becomes vital, each providing unique advantages in terms of durability and reflectivity. Understanding the intricacies of production, processing, and assembly processes is necessary for guaranteeing a superior product. What are the key factors that affect the quality and longevity of LED mirrors?
- LED mirrors incorporate high CRI LEDs for superior lighting quality and color accuracy.
- Low-iron, tempered glass ensures clarity and safety for LED mirrors.
- Waterproof tape lights enhance durability and reliability in LED mirrors.
- Responsive touch switches provide easy and intuitive control of LED mirrors.
- Efficient power drivers ensure optimal performance and energy efficiency in LED mirrors.
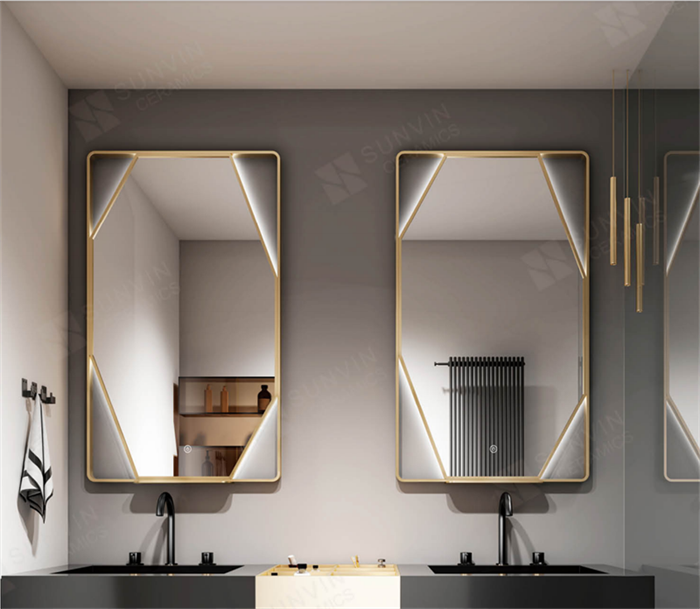
Selecting the appropriate raw materials is vital for ensuring the quality and longevity of an LED mirror. Key components to evaluate include:
- High-quality glass
- Reliable tape light
- A responsive touch switch
- An efficient power driving mechanism
Each element plays an important role in the overall functionality and aesthetic appeal of the final product.
When selecting the raw materials for an LED mirror, it is vital to consider the quality and type of glass for durability and optimal light diffusion. The choice of glass greatly influences the overall performance and longevity of the mirror.
First, consider choosing low-iron glass. Low-iron glass is well-known for its clarity and absence of green tint, ensuring that the light diffusion maintains true color. This is particularly important for applications requiring precise reflections, such as in bathrooms or dressing rooms.
Second, the thickness of the glass plays a significant role. Standard thicknesses range from 4mm to 6mm. Thicker glass provides better durability and a more substantial feel, but it may also increase the weight of the mirror, requiring sturdy mounting solutions.
Moreover, tempered glass is highly recommended. Tempering involves a heat-treatment process that enhances the glass's strength and safety. In case of breakage, tempered glass breaks into small, dull pieces, reducing the risk of injury.
To guarantee the best performance and functionality of an LED mirror, selecting high-quality raw materials for the tape light, touch switch, and power driving components is vital. For the tape light, opt for LEDs with a high Color Rendering Index (CRI) of 90 or above, as this secures accurate color representation and brightness. The tape substrate should be flexible and durable, capable of withstanding temperature variations. Additionally, make sure the tape light is waterproof if the mirror is intended for bathroom use.
The touch switch is another vital component. Select switches that are highly sensitive and responsive to touch. They should be designed to operate reliably in humid environments, which is crucial for bathroom applications. Look for switches with robust construction and certifications for electrical safety standards.
Lastly, the power driving components must be chosen with precision. High-efficiency drivers are vital to convert AC to DC power while minimizing energy loss and heat generation. Make sure the power drivers are compatible with the LED tape light specifications and have built-in protections against overvoltage, overcurrent, and short circuits.
Prioritizing these elements will secure the LED mirror is not only functional but also reliable and safe for long-term use.
The production and processing of LED mirrors involve several critical steps.
Starting with precise glass cutting to guarantee accurate dimensions.
Following this, the manufacturing of the mirror back frame provides structural support and stability.
Additionally, the frame is crafted to not only enhance aesthetic appeal but also to securely house the LED components.
Accurate glass cutting is a vital step in the production and processing of LED mirrors, ensuring both the functionality and aesthetic quality of the final product. This process demands precision and expertise, as the dimensions and edges of the glass must adhere strictly to design specifications. High-quality glass cutting minimizes the risk of imperfections, such as chips or cracks, which could compromise the mirror's durability and visual appeal.
Modern glass cutting techniques employ advanced machinery and tools, including computer numerical control (CNC) systems, which provide unparalleled accuracy. These systems can execute complex cuts and shapes, catering to bespoke designs required in contemporary LED mirrors. Water jet cutting and laser cutting are also utilized, offering clean cuts with minimal material wastage.
The glass cutting process begins with selecting the appropriate glass type, followed by marking the cutting lines with precision. The cutting is executed using a diamond-tipped cutting wheel or similar high-precision tool. Post-cutting, the glass edges are often polished to remove any sharpness, enhancing safety and ensuring a seamless fit within the mirror assembly.
This meticulous approach to glass cutting is essential for achieving the high standards expected in LED mirror products.
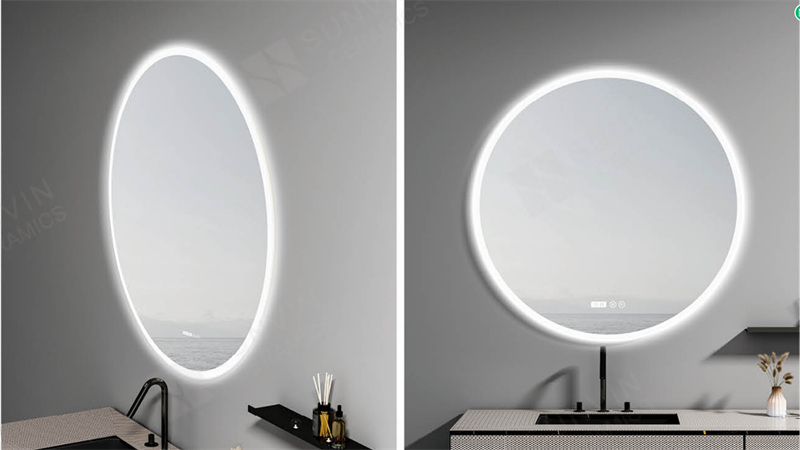
How important is precise artistry in the production and processing of mirror back frames and frames for LED mirrors? The answer lies in the essential role these components play in both the functionality and aesthetic appeal of the final product. High-quality frames not only provide structural support but also assure the LED elements are securely housed and optimally positioned for effective lighting.
The manufacturing process begins with the selection of durable materials, typically aluminum or high-grade plastic, chosen for their strength and resistance to corrosion. Precision cutting and milling techniques are utilized to achieve exact dimensions, ensuring a perfect fit for the LED components and mirror glass. Advanced machinery, such as CNC routers, are often employed to maintain consistency across large production runs.
Subsequent stages involve careful assembly operations where the frame is combined with the back plate and LED housing. Attention to detail is crucial, as even minor imperfections can impact the integrity and performance of the mirror.
Various kinds of mirrors, including LED mirrors, serve distinct functional and aesthetic purposes in both residential and commercial spaces. Traditional mirrors, such as plain glass mirrors, are commonly used for everyday activities like grooming and interior decoration. They offer clear reflections but lack extra features.
LED mirrors, however, integrate lighting technology to enhance functionality. These mirrors are particularly useful in bathrooms and dressing areas, providing ideal illumination for tasks like makeup application and shaving. The built-in LEDs offer energy efficiency and can be adjusted for brightness and color temperature, catering to different needs and preferences.
Convex mirrors, often used in commercial environments such as stores and parking garages, provide a wide-angle view to enhance security and safety. Concave mirrors, on the other hand, are utilized in applications requiring magnified reflections, such as telescopes and certain types of medical instruments.
Smart mirrors represent another innovative category, incorporating touch-screen capabilities and internet connectivity, allowing users to access information, control smart home devices, and even monitor personal health metrics.
Each type of mirror, from traditional to technologically advanced, fulfills specific roles, contributing significantly to both functional utility and aesthetic enhancement in various settings.
Understanding the key distinctions between silver and aluminum mirrors is essential for making informed decisions about their applications and suitability.
The first major difference lies in their composition and production process. Silver mirrors are created through a silver electroplating process, which is inherently more complex and resource-intensive. Conversely, aluminum mirrors utilize metal aluminum, making their production simpler and less costly.
The second significant difference is in pricing. Due to the complexity and materials used, silver mirrors are substantially more expensive, typically priced around 100 yuan per square meter, compared to 80 yuan per square meter for aluminum mirrors. This cost differential also reflects the higher quality and durability of silver mirrors, particularly in moisture-prone environments like bathrooms.
Lastly, the brightness and clarity of reflections differ markedly between the two types. Silver mirrors boast superior refraction performance, resulting in brighter and clearer reflections. The back coating of silver mirrors is generally dark gray, compared to the lighter gray coating of aluminum mirrors. This enhances the silver mirror's ability to maintain color accuracy and resist corrosion over time, in contrast to aluminum mirrors, which may distort colors and degrade more quickly.
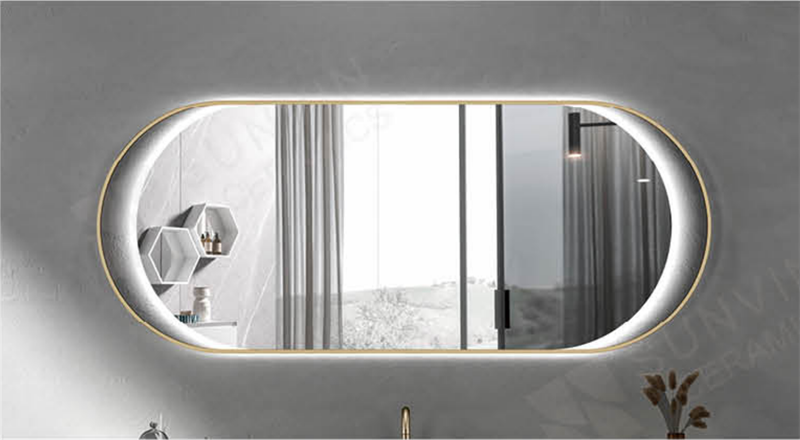
The assembly process of an LED mirror involves several critical steps to guarantee functionality and aesthetics.
Initially, the glass mirror is installed, followed by the attachment of the back frame and border.
To begin the installation process, carefully position the glass mirror within the designated frame, making sure it aligns perfectly. Accurate alignment is vital to guarantee the mirror functions correctly and maintains aesthetic appeal. Use a level tool to verify that the mirror is perfectly horizontal and vertical. Any misalignment can lead to potential damage or an unprofessional appearance.
Once the mirror is aligned, secure it in place using appropriate adhesive or mounting clips, depending on the design specifications. Apply the adhesive evenly across the back of the mirror, avoiding excessive use which could cause seepage around the edges. If using mounting clips, make sure they are firmly attached to the frame and evenly spaced to provide uniform support.
Allow sufficient time for the adhesive to set, following the manufacturer's guidelines. This ensures the mirror is securely attached and minimizes the risk of it detaching over time.
Once the glass mirror is firmly in place, proceed with installing the back frame and border to guarantee structural integrity and aesthetic completion.
Start by selecting a back frame material that offers both durability and compatibility with the LED components. Common choices include aluminum, wood, or high-density plastic. Measure the dimensions of the mirror and cut the frame material accordingly, ensuring a snug fit around the perimeter of the mirror.
Secure the back frame to the mirror using appropriate adhesives or mounting brackets. For adhesives, apply a uniform layer along the edges of the mirror and press the frame into place, holding it steady until the adhesive sets. If using mounting brackets, position them at equal intervals around the mirror, drilling pilot holes as needed, and fasten with screws.
Next, attach the border, which serves both decorative and protective functions. Choose a border material that complements the overall design and aligns seamlessly with the frame. Attach it using suitable methods such as adhesive strips or small nails, ensuring it is flush against the mirror's edge.
This final step not only enhances the mirror's appearance but also adds an extra layer of protection to the edges, preparing it for further assembly stages.
After securing the rear framework and border, focus on integrating the mounting electronics to guarantee the LED mirror functions at its best. Begin by attaching the LED strip lights to the designated areas on the back framework. Make sure the adhesive backing on the LED strips is secure and evenly applied to prevent any future detachment.
Next, connect the LED strip lights to the power supply unit. Use appropriate connectors and verify that all connections are solid and secure. Pay special attention to the polarity to avoid any malfunction. Once connected, mount the power supply unit onto the back framework using screws or adhesive, ensuring it is stable and well-ventilated.
Proceed to integrate the control system, which may include a dimmer switch or remote control receiver. Connect these components to both the LED strips and the power supply as per the manufacturer's instructions. It's important to organize and secure all wiring with cable ties or clips to maintain a clean and safe assembly.
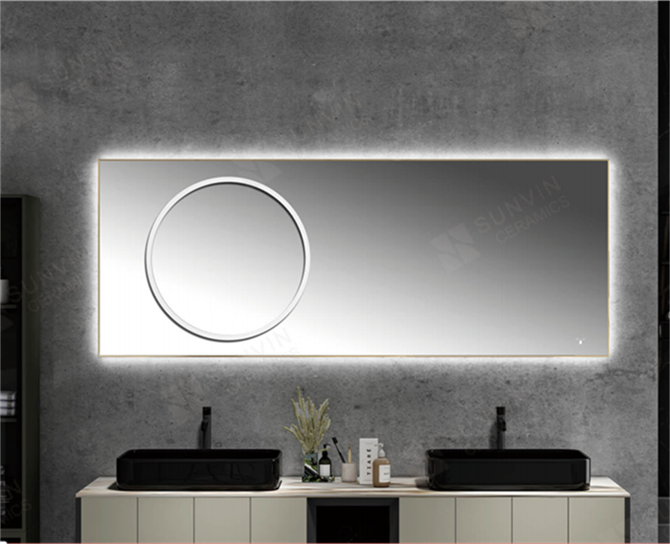
Quality inspection of LED mirrors encompasses several critical steps.
These steps include visual inspection for any visible defects, functional testing to guarantee all LED components operate correctly, and security detection to verify the integrity of the mirror's electronic and structural components.
Each of these steps is essential to maintain high standards of quality and safety.
Maintaining the highest standards, visual examination plays an essential role in the quality assurance process for LED mirrors. This thorough inspection involves scrutinizing each mirror to identify any visible defects that could compromise both functionality and aesthetic appeal. Inspectors are trained to recognize issues such as scratches, cracks, discoloration, and inconsistencies in the LED placement or brightness.
During the visual inspection, the mirror is observed under various lighting conditions to confirm its reflective surface remains clear and consistent. Special attention is given to the LED components, ensuring they are evenly distributed and securely attached. Inspectors also examine the overall construction quality, including the frame and mounting hardware, to verify that all parts meet the required specifications.
Additionally, visual inspection includes evaluating the quality of the mirror's finish and surface coating. Any irregularities, such as bubbles, streaks, or uneven application, are noted and addressed. This step is important to guarantee that the mirror not only functions correctly but also meets the aesthetic standards expected by consumers.
Functional testing is a pivotal phase in the quality inspection process, designed to verify that every LED mirror operates as intended under various conditions. This step confirms that all features, including lighting, touch functionality, and any integrated smart capabilities, work seamlessly. By simulating real-world usage scenarios, functional testing identifies potential defects that may not be visible during the visual inspection phase.
The testing process includes evaluating the mirror's LED lighting for consistent brightness and color accuracy. Technicians assess the responsiveness of touch controls or motion sensors to confirm that user interactions are reliably registered. Additionally, any smart features, such as Bluetooth connectivity or anti-fog mechanisms, are rigorously tested to make sure they perform as specified.
Functional testing also involves stress tests, where the mirror is subjected to extended periods of operation to check for overheating or degradation in performance. This thorough approach helps in identifying any weaknesses or faults that could lead to product failure in the field.
During quality inspection, security detection is essential to make sure that LED mirrors are protected against potential vulnerabilities and unauthorized access. This process involves a thorough examination of both hardware and software components to identify and mitigate any security risks.
Hardware inspections focus on verifying that no unauthorized modifications or tampering have occurred, which could compromise the integrity of the LED mirror. This includes checking for physical alterations, unauthorized ports, or any additional devices that could intercept data.
On the software side, security detection involves a comprehensive review of the firmware and any embedded software systems. This includes scanning for malware, vulnerabilities, and ensuring that robust encryption protocols are in place to protect user data. Regular updates and patches are necessary to address newly discovered threats and maintain the security posture of the device.
Furthermore, network security is a significant aspect, especially for smart LED mirrors connected to Wi-Fi. Inspectors check for secure communication channels, such as encrypted data transmission, and validate that the mirror's software complies with industry standards for cybersecurity.
This multifaceted approach guarantees that LED mirrors not only perform effectively but also uphold a high standard of security, protecting user privacy and data integrity.
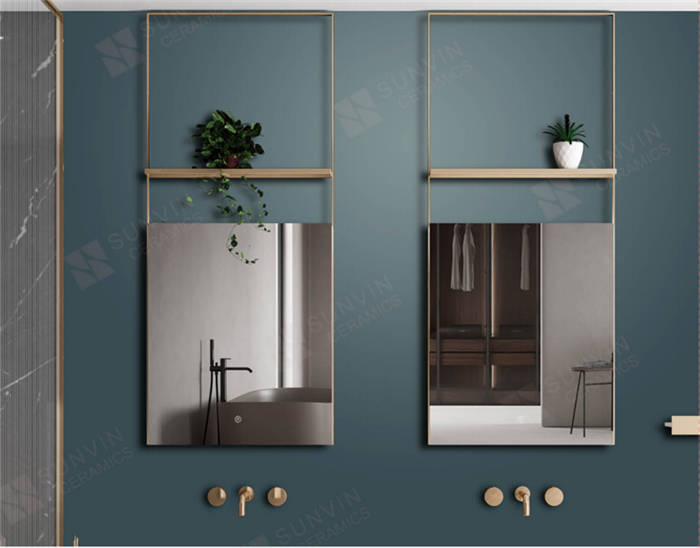
In summation, the careful selection of raw materials, precise production and processing methods, and the distinction between silver and aluminum mirrors are the cornerstones of creating high-quality LED mirrors.
The assembly process, coupled with thorough quality inspection, guarantees that these mirrors seamlessly blend functionality with elegance.
Like a beacon in the dark, LED mirrors illuminate spaces with clarity and sophistication, epitomizing modern innovation in everyday environments.