Are you tired of that old, outdated sink in your kitchen or bathroom? If you're ready for a fresh new look and want to save some money, why not try installing a new sink yourself? With this step-by-step guide, you'll be able to tackle the task with confidence and achieve professional-looking results.
In this article, we will walk you through the entire process of DIY sink installation. We'll start by helping you assess your space and choose the perfect sink that fits your needs and style. Then, we'll guide you in gathering all the necessary tools and materials to ensure you have everything you need on hand.
Next, we'll show you how to remove the old sink and properly prepare the area for the new one. Once you're ready, we'll provide detailed instructions on how to install the new sink and connect the plumbing. Finally, we'll go over how to test for leaks and ensure a tight seal, so you can have peace of mind knowing your new sink is working perfectly.
So, roll up your sleeves and get ready to transform your space with a DIY sink installation!
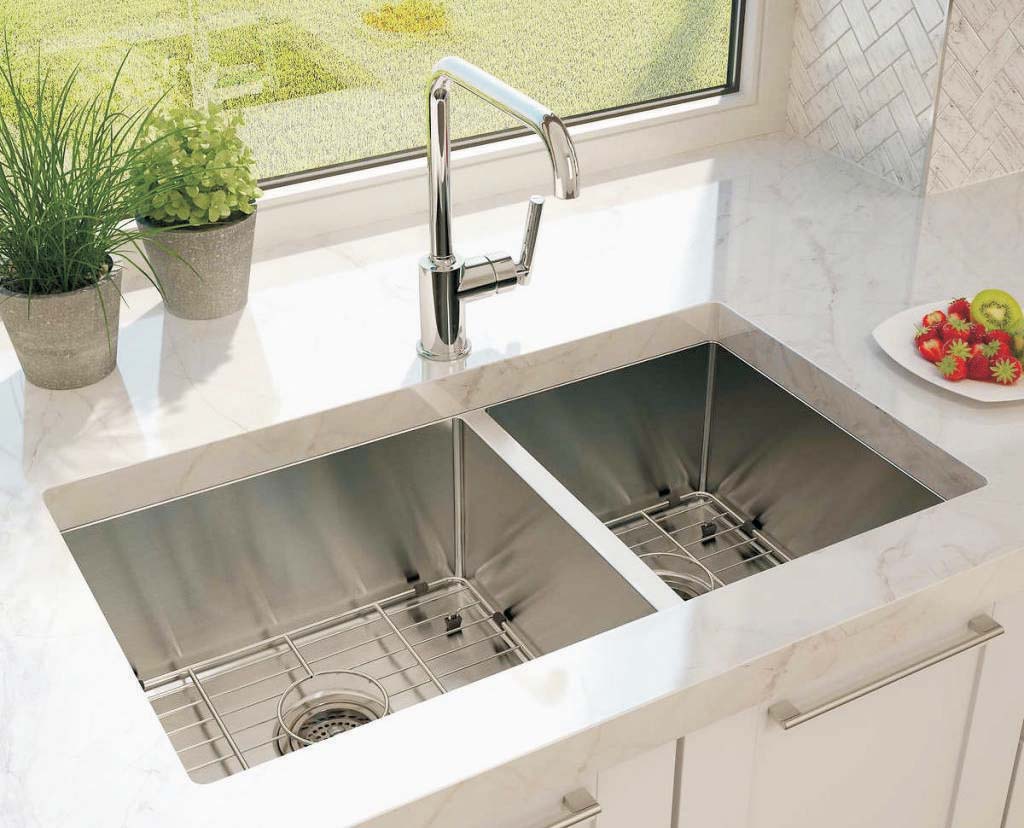
Now that you've measured your space and determined the style you want, it's time to find the perfect sink to complement your bathroom or kitchen!
Start by considering the size and shape of your space. If you have a smaller bathroom or kitchen, a pedestal sink or a wall-mounted sink may be the best option to maximize space. On the other hand, if you have a larger space, you can opt for a double sink or a farmhouse sink for a more luxurious and stylish look.
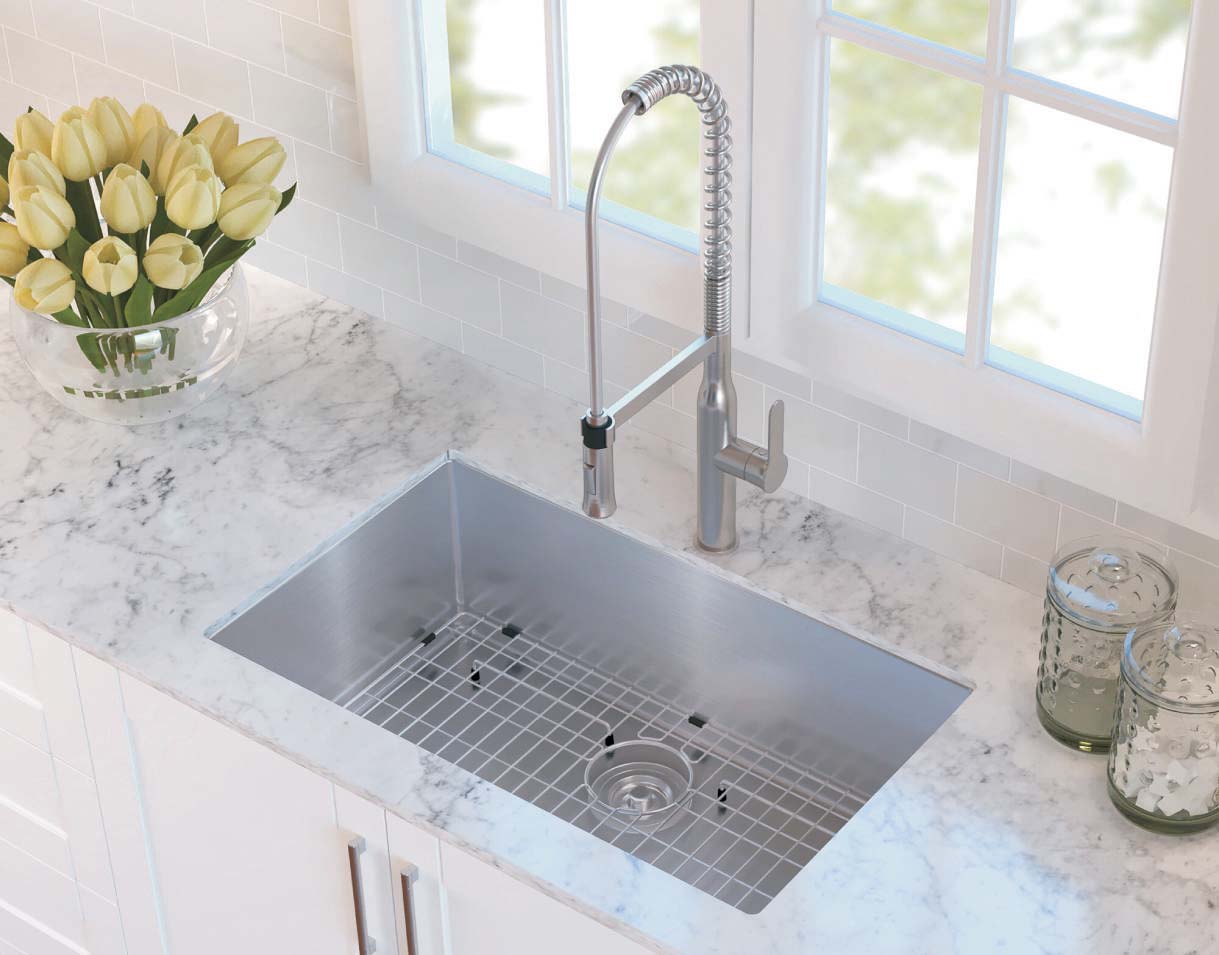
Next, think about the material of the sink. Stainless steel is a popular choice due to its durability and easy maintenance. It's resistant to stains and scratches, making it perfect for a busy kitchen. Porcelain sinks are also a classic option that adds a touch of elegance to any bathroom. They're easy to clean but may require more care to prevent chipping. Additionally, there are composite sinks made from a mixture of materials like quartz and granite, which offer a combination of durability and aesthetic appeal.
Consider your budget and personal preferences when selecting the material for your sink.
First, you'll need to grab all the tools and materials necessary for the job. Make sure you have a wrench, pliers, a screwdriver, a tape measure, and a hacksaw. These tools will come in handy during the installation process.
Additionally, gather all the materials you'll need, such as a new sink, faucet, drain assembly, plumber's putty, silicone caulk, and plumber's tape. Having everything ready before you start will save you time and prevent any unnecessary trips to the hardware store.
Once you have all the tools and materials ready, it's important to double-check that you have everything you need. Go through the list again and make sure you haven't missed anything. This will help ensure a smooth and efficient installation process.
Having all the necessary tools and materials at hand will make the job much easier and prevent any delays or frustrations. So take a few minutes to gather everything you need before you begin the next steps.
Once you've gathered all the necessary tools and materials, it's time to roll up your sleeves and tackle the task of removing the old sink and preparing the area for the shiny new one. Start by turning off the water supply to the sink. Locate the shut-off valves under the sink and turn them clockwise until they're fully closed.
Next, disconnect the water supply lines by using an adjustable wrench to unscrew the nuts connecting them to the faucet. Be prepared for some water to spill out, so have a bucket or towel handy to catch any drips. Once the water supply lines are disconnected, remove the drain pipe by loosening the slip nut that connects it to the sink drain. Use a pipe wrench or pliers to loosen the slip nut and carefully remove the drain pipe.
Now that the water supply lines and drain pipe are disconnected, it's time to remove the old sink. Start by using a utility knife to cut through any caulk or adhesive that may be securing the sink to the countertop. Carefully pry the sink away from the countertop using a pry bar or putty knife. Be gentle to avoid damaging the countertop or backsplash. Once the sink is detached, carefully lift it out of the countertop and set it aside.
With the old sink removed, take this opportunity to clean the area thoroughly. Remove any leftover caulk or adhesive and wipe down the countertop to ensure a clean surface for the new sink installation.
Now that the area is prepped and ready, you can move on to the exciting part of installing your new sink.
Get ready to experience the satisfaction of transforming your kitchen as you effortlessly install your gleaming new sink and effortlessly connect the plumbing.
First, carefully place the new sink into the prepared countertop opening. Make sure it fits snugly and is centered before proceeding. Once the sink is in place, secure it by tightening the clips or brackets provided with the sink. These'll hold the sink securely in place and prevent any movement or shifting.
Next, it's time to connect the plumbing. Start by attaching the drain assembly to the bottom of the sink. Apply plumber's putty or silicone sealant to create a watertight seal. Insert the drain assembly into the sink's drain hole and tighten the nut underneath to secure it.
Then, connect the P-trap to the drain assembly. This curved pipe'll prevent sewer gases from entering your kitchen. Attach one end of the P-trap to the drain assembly and the other end to the existing drain pipe in the wall. Use adjustable pliers to tighten the connections, ensuring they're snug but not over-tightened.
With the drain assembly and P-trap connected, it's time to tackle the water supply lines. Connect the hot and cold water supply lines to the corresponding valves underneath the sink. Use a wrench to tighten the connections, making sure they're secure.
Turn on the water supply valves to check for any leaks. If there're any leaks, tighten the connections further until the leaks stop. Once everything is connected and leak-free, you can enjoy the satisfaction of a job well done. Your new sink's now installed and ready to be used for all your kitchen activities.
Now it's time to give your newly installed sink a little test drive by checking for any sneaky leaks and ensuring a tight seal.
Start by turning on the water supply and letting it run for a few minutes. Keep an eye out for any water dripping or pooling around the pipes or connections. If you notice any leaks, tighten the affected areas with a wrench or, if necessary, apply plumber's tape or sealant to create a watertight seal. It's important to address any leaks immediately to prevent water damage to your cabinets or flooring.
Once you've confirmed that there are no leaks, it's time to ensure a tight seal between the sink and the countertop. Gently press down on the edges of the sink to check for any movement or gaps. If you feel any give or notice any spaces, you may need to apply a silicone sealant to create a secure bond. Apply the sealant along the edges of the sink where it meets the countertop, using a caulk gun for precision.
Smooth out the sealant with a damp cloth or your finger to create a neat finish. This will not only prevent any water from seeping underneath the sink but also help maintain the overall aesthetics of your newly installed sink.

Conclusion
In conclusion, installing a sink yourself can be a straightforward process if you follow the right steps. By assessing your space and choosing the right sink, you can ensure that it fits perfectly and meets your needs.
Gathering the necessary tools and materials beforehand will save you time and effort during the installation.
Removing the old sink and preparing the area is an important step to ensure a smooth installation. By carefully disconnecting the plumbing and clearing the space, you can create a clean slate for your new sink.
Finally, installing the new sink and connecting the plumbing requires attention to detail and precision. By following the manufacturer's instructions and double-checking your work, you can ensure a tight seal and avoid any potential leaks.
Testing for leaks and ensuring a tight seal is the final step in the process. By running water and checking for any signs of leakage, you can be confident in your DIY sink installation.
Overall, with the right preparation and careful execution, you can successfully install a sink yourself and enjoy the satisfaction of a job well done.
If you have any inquiry, pls feel free to contact us